You have a web app idea, a clear picture of the workflow, and perhaps even a few screens mocked up. Then you open a coding tutorial, compare developer quotes, or start prompting an AI builder, and the project becomes harder to ship than it was to imagine. The first version accumulates features, the code becomes difficult to control, and you still don't have a live product that users can test.
The practical challenge isn't whether you can describe a useful app. It's whether you can choose a build process that keeps the first release narrow, functional, testable, and portable. Today's AI app builders make that process accessible without hiring a developer, but only if you treat them as product-building tools rather than demo generators.
Why Your First Web App Idea Stalls
A solo founder often starts with a strong operational problem. Perhaps customers submit information through email, someone copies it into a spreadsheet, and another person manually sends an update. The proposed web app would collect the information, store it, show a status dashboard, and notify the right person.
The idea is specific enough to be useful, but building it traditionally introduces immediate friction. A developer must translate the workflow into requirements, select a stack, create the interface, design the database, handle authentication, test edge cases, and deploy the result. Depending on scope, current industry guides place a small or MVP software project around $30,000 to $45,000, while a medium web application can cost $50,000 to $150,000, according to 2026 software development cost guidance.
That cost explains why many founders stop before their first real test. Others try fragmented tutorials, copy code they don't understand, or choose a platform that creates a polished interface without solving the underlying workflow. The failure usually isn't a lack of intelligence or ambition. It's a mismatch between the project and the method.
Practical rule: Your first build should remove one painful manual process, not prove that you can create an entire software company in a weekend.
AI builders have changed the starting point. You can describe a page, a form, a dashboard, or a role-based workflow in plain language and refine the result through conversation. Low-code and no-code tools have also moved beyond experimentation. A review of low-code and no-code adoption data cites KPMG research in which about 31% of surveyed companies said low-code was already integral to their software development strategy, while another survey reported that 41% of IT organizations planned to adopt these tools.
The barrier hasn't disappeared, though. You still need to make product decisions, define permissions, inspect generated behavior, and confirm that you own what you ship. The method works when you bring a clear workflow and disciplined scope to the tool.
Planning Your App Before You Start Building
The most expensive mistake happens before the first prompt. Founders describe an ambitious product, then ask an AI builder to create every feature at once. The result may look impressive, but it often lacks a reliable path from user input to delivered value.
Start with one sentence:
A user comes to this app to [perform one action] and receives [one useful result].
For example, “A property manager uploads a maintenance request and receives a trackable status with the next action.” That sentence gives you a workflow. It doesn't yet require an elaborate reporting suite, mobile app, team chat, or complex billing system.
Define the activation event
Your activation event is the moment a new user experiences the app's core value. It might be submitting a request, generating a report, inviting a collaborator, or completing a paid booking. Choose an event you can observe inside the product.
Then define the smallest set of screens and data required to make that event work:
- Entry point: The page where a user understands what to do.
- Core action: The form, upload, search, or transaction that creates value.
- Stored record: The data your app must retain.
- Result view: The confirmation, dashboard, or output the user needs next.
- Owner view: A basic way for you to inspect and manage activity.
This structure keeps the build tied to behavior rather than appearance. A narrow first release also improves delivery odds. One industry guide estimates a 58% success rate for small-scale software projects, compared with about 6% for large complex projects, and recommends an MVP window of 8 to 16 weeks in its discussion of why most MVPs fail.
Write a build brief
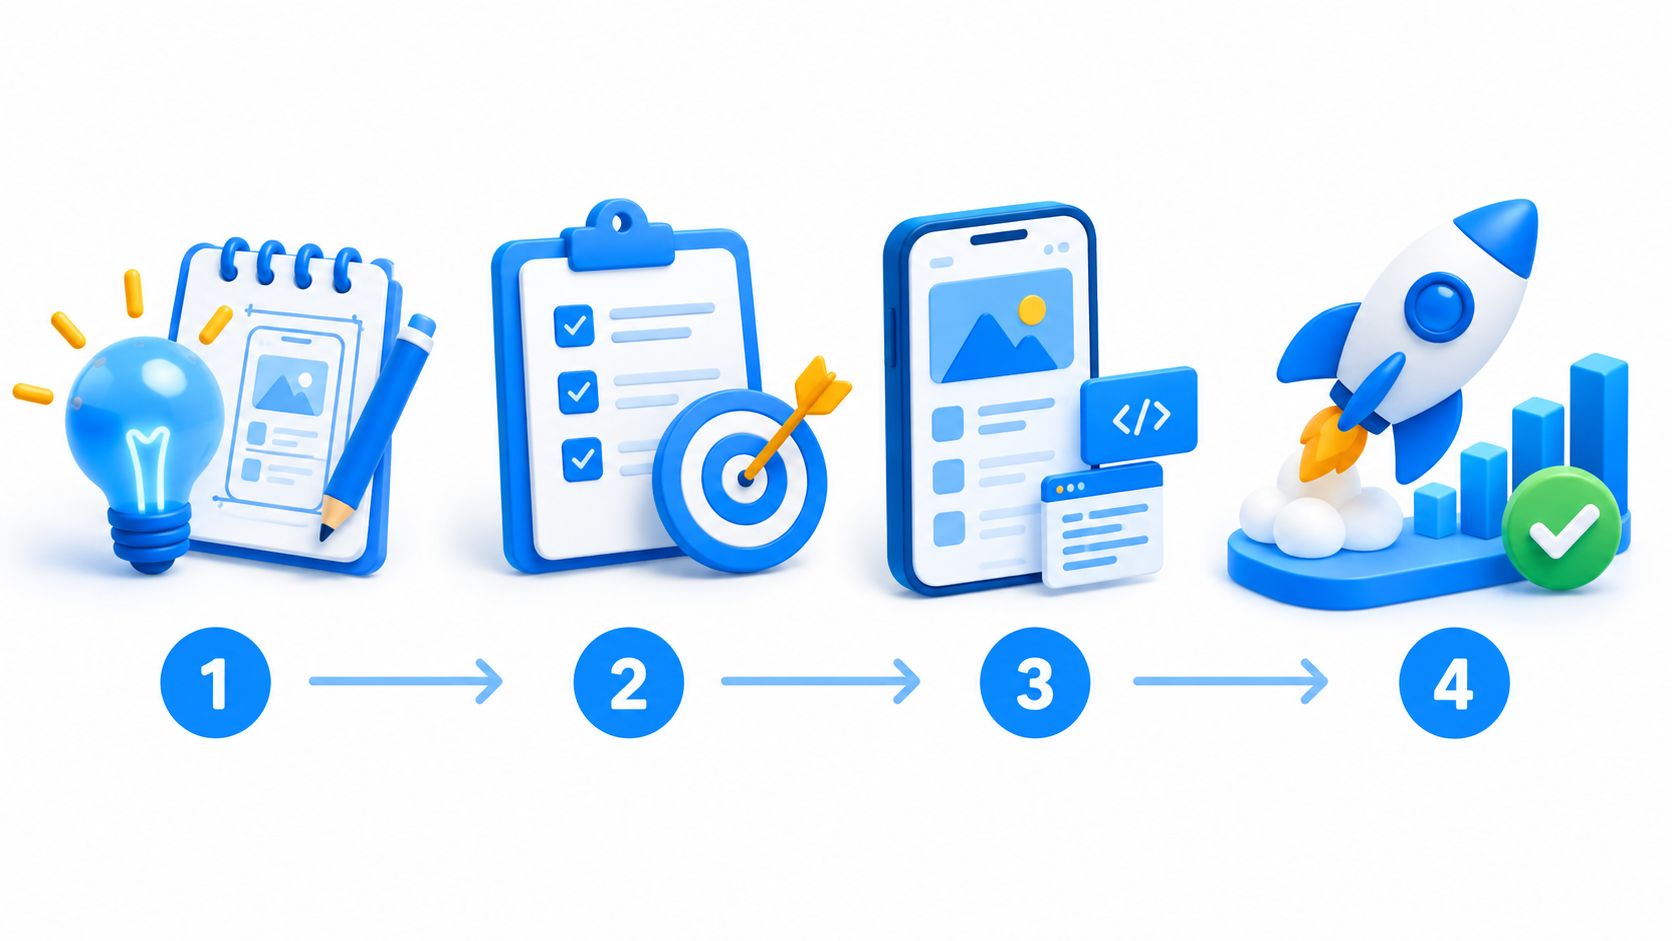
Before opening a builder, write the rules in plain English. Include the user types, the fields they can submit, the states a record can have, and what each role can see or change. List features under three labels: required for activation, useful after launch, and deliberately excluded.
Keep a decision log as you build. If a prompt produces an attractive but unnecessary feature, remove it. The first release should let a real person complete the core workflow, let you inspect the resulting data, and let both of you understand what happens when something goes wrong.
Speed matters because validation loses value when it arrives late. One MVP summary reports that releases completed in under 8 weeks reached validation goals 23% of the time, compared with 7% for projects taking 16 or more weeks. It also reports that 58% launched without pre-launch user testing, a pattern that makes feature-heavy builds especially risky. Those figures are documented in MVP development challenges and mistakes.
Choosing the Right Technical Path
There are three practical paths for a founder who wants to build a web app without hiring a developer.
Hand-coded development gives you the greatest control over architecture, dependencies, hosting, and long-term maintenance. It also requires technical skill or a development partner, and the work includes many decisions that don't directly validate your business idea.
Traditional no-code is faster for structured workflows. You can assemble forms, databases, and automations visually, but the application may depend heavily on the platform's proprietary components. Moving away later can be difficult if the exported data doesn't include the application logic.
AI app builders sit between those options. You describe the application, generate a working foundation, and iterate through prompts while retaining more control than a purely hosted no-code system may provide. They can be effective for a focused MVP, but they don't eliminate the need to review the output, manage credentials, test permissions, or plan for growth.
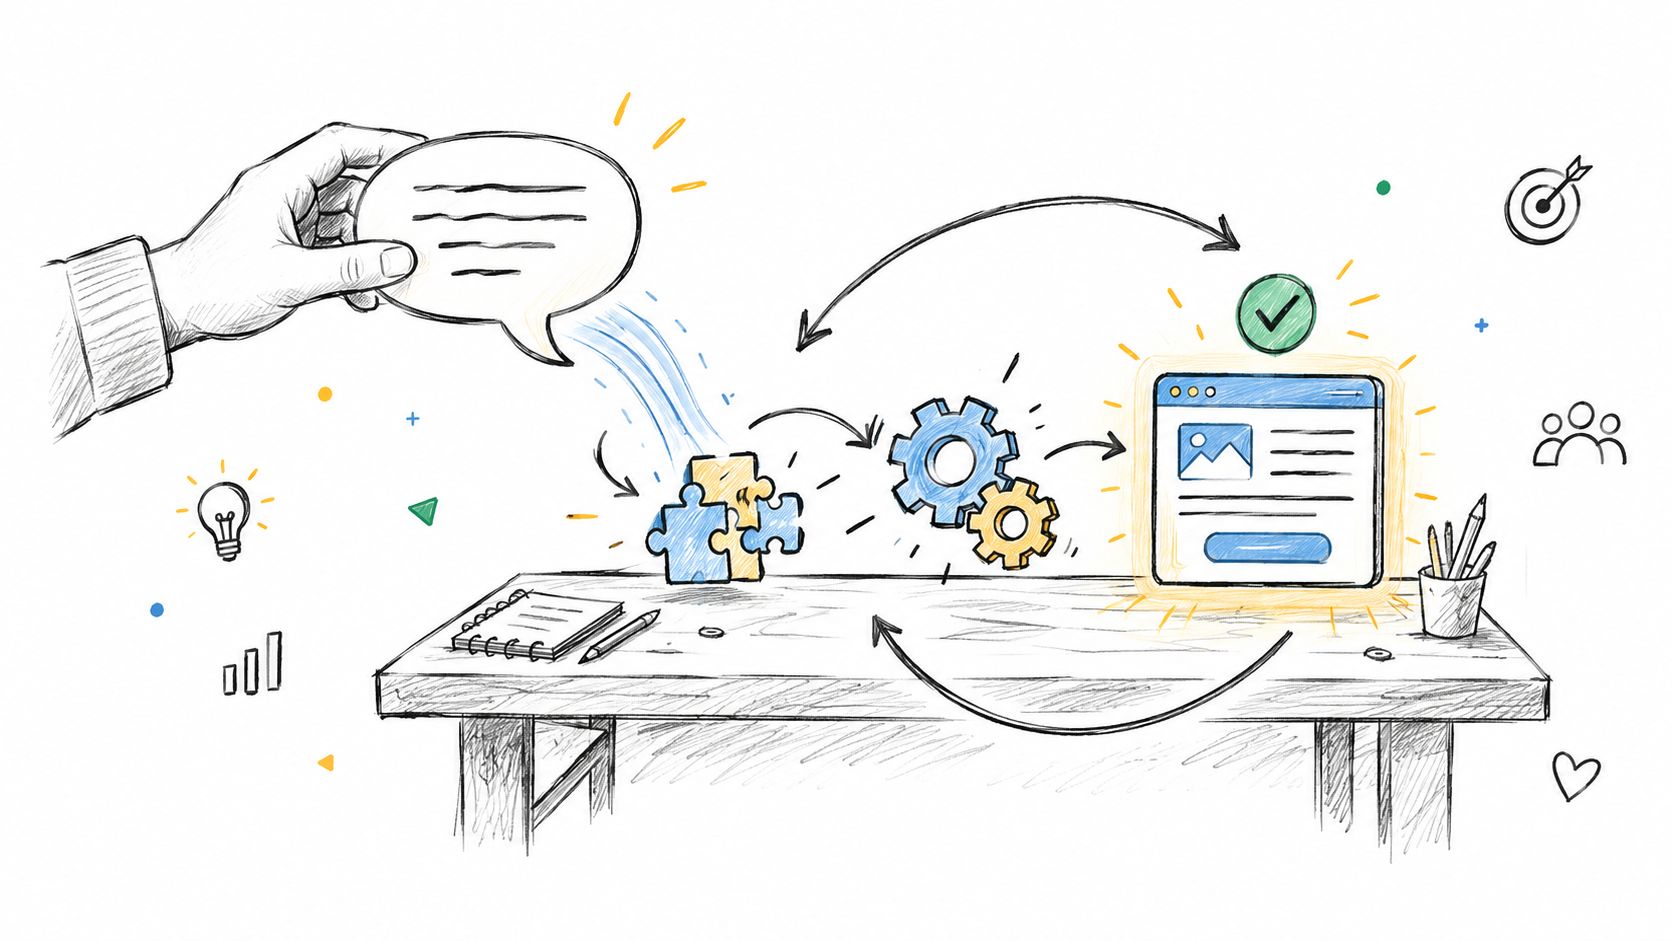
The right question isn't “Which tool creates the most screens?” It's “Which path lets me validate the workflow while preserving a credible route to ownership?” Hosted convenience can be valuable during early testing. Portability becomes more important when your app stores customer data, supports revenue, or requires development outside the builder.
For a concise technical explanation of the responsibilities involved, read this guide to what full-stack development includes. You don't need to become a senior engineer to make good decisions, but you do need to know whether your builder is generating a complete application or only arranging a front-end experience.
Compare the trade-offs
| Path | Useful when | Main risk |
|---|---|---|
| Hand-coded stack | You need maximum control or unusual technical behavior | You can't move quickly without development expertise |
| Visual no-code platform | The workflow fits the platform's components | Proprietary logic can make migration difficult |
| AI app builder | You need to turn a clear specification into a testable product | Generated code and platform limits still need inspection |
AI builders are mature enough to produce launchable products for focused use cases, but “launchable” doesn't mean “finished.” You should still understand authentication, data access, payment events, backups, and deployment. If the project later demands unusual infrastructure or deep optimization, a clean handoff matters. A practical reference for that transition is a Senior full stack developer role, because it shows the breadth of responsibility involved once an app becomes a serious software product.
This video offers another perspective on the process and the decisions behind a full-stack build:
Building with an AI App Builder
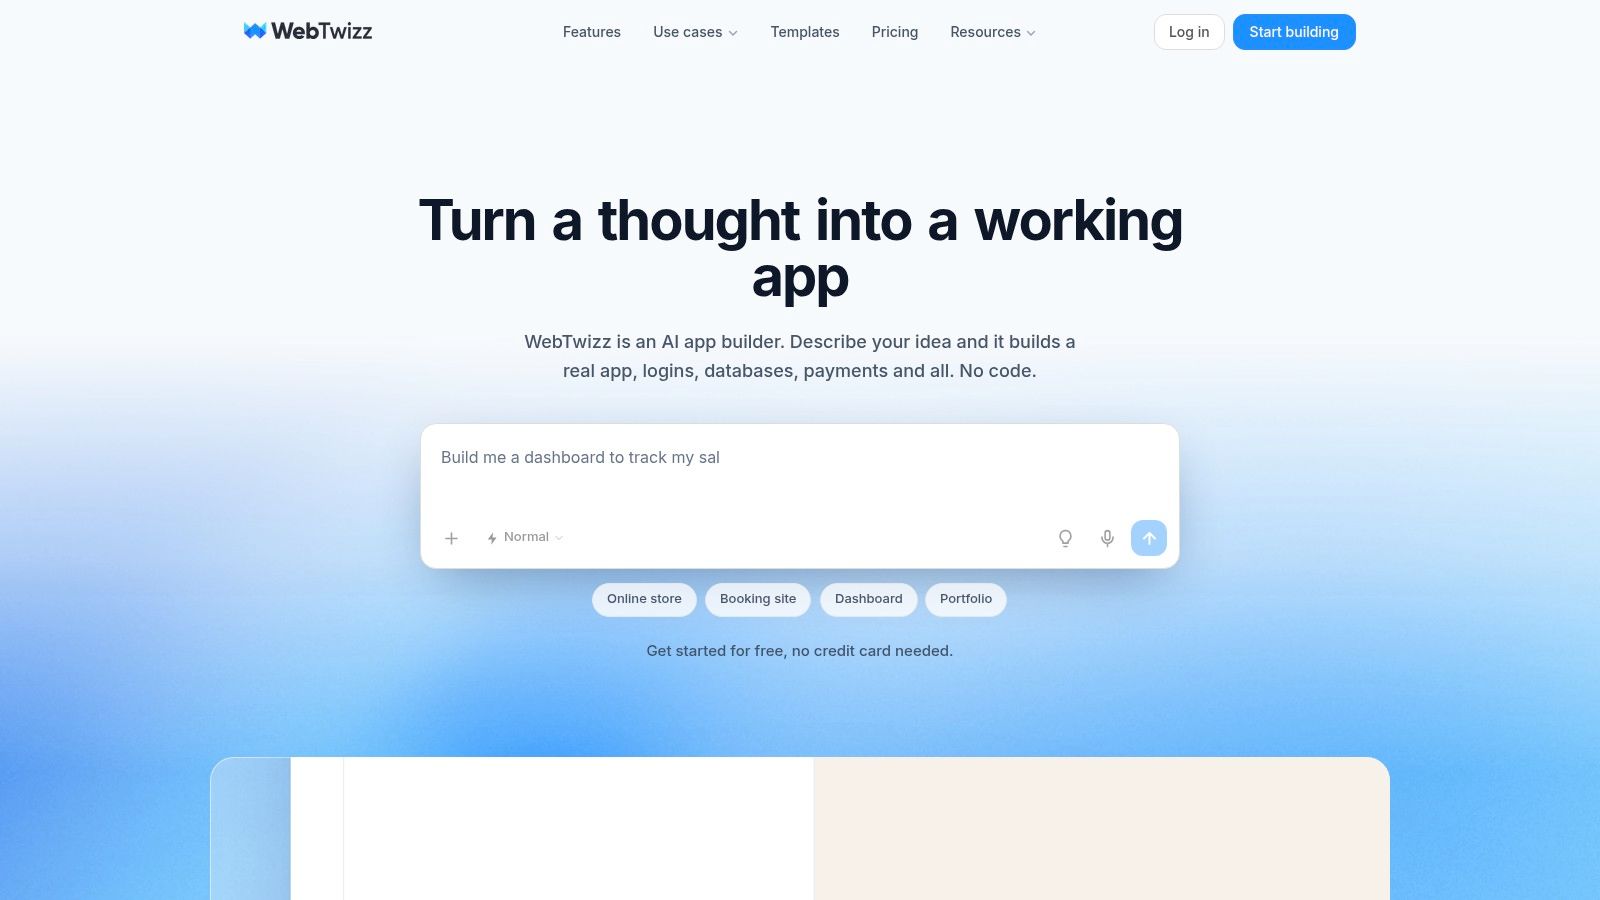
A useful AI builder workflow starts with a functional shell, not a long feature list. Webtwizz fits this approach as one option for describing pages and application behavior in plain language, then refining the result through conversation.
Begin with a build brief that names the user, the core action, and the stored result. Your first prompt should contain the workflow and constraints, not vague language such as “make a modern platform.” For example: “Create an app where a customer submits a support request with a title, description, priority, and attachment. Store each request, show its status, and give an administrator a dashboard to update that status.”
Build in controlled passes
The first pass should create the landing page and the main path into the application. Check whether a new user can understand the next action without explanation. Don't add billing, notifications, or team roles until the core path is visible and usable.
Next, request internal pages one at a time. Add the submission form, record detail page, list view, and basic administrator screen. After each change, test the actual interaction. AI builders can generate a plausible page while missing a required state, validation rule, or navigation path.
Then connect the data model. Name the records, fields, relationships, and status transitions explicitly. Ask the builder to explain what happens when a user submits incomplete information, refreshes the page, revisits an existing record, or attempts an action outside their role.
A useful prompt sequence looks like this:
- Foundation: Create the pages and the single core workflow.
- Data: Add the records and fields needed to preserve that workflow.
- Permissions: Define what each user type can read, create, update, or delete.
- Validation: Reject incomplete or inconsistent input with clear messages.
- Testing: Check successful, empty, duplicate, unauthorized, and failed states.
- Deployment: Publish the tested version to a domain you control.
The same discipline applies to the landing page. If you're comparing AI approaches for conversion-focused pages, this AI landing page optimization comparison with Coframe provides useful context for separating page generation from broader application behavior. A landing page can explain the product, but it doesn't prove that the product works.
For a deeper look at the category, see this guide to an AI-powered no-code app builder. The practical distinction is that your builder should help you move from generated interface to connected workflow, rather than leaving you with a visual prototype that can't support real users.
Protect the project from prompt drift
Keep prompts narrow and preserve working versions before making structural changes. Ask for one modification at a time, describe the expected behavior, and verify that existing flows still work. If a change breaks authentication or data access, revert instead of layering more prompts on top of the error.
Before publishing, confirm what you can export, where the source lives, how deployment works, and what happens when you stop using the platform. A fast build that you can't inspect or move may create a new dependency rather than a business asset.
Connecting Data, Authentication, and Payments
A landing page isn't a web application. The product becomes real when users can sign in, create or retrieve records, and complete the workflow without you manually repairing the data behind the scenes.
Start with the data model. For each record, define the owner, required fields, status values, timestamps, and relationships. A request might belong to one account, contain several updates, and move through states such as new, in progress, and resolved. Avoid storing unrelated concepts in one oversized record because that makes permissions and future changes harder to reason about.
Add authentication before sensitive data
Authentication establishes who is using the app. Authorization determines what that person may do. Those are different controls, and a production app needs both.
Set up the smallest role model that matches the workflow:
- Customer: Can create and view their own records.
- Operator: Can view assigned records and update permitted fields.
- Administrator: Can manage users, configuration, and the full dataset.
Test each role with direct navigation, not only through visible buttons. A hidden button isn't a permission rule. The database or server action must reject unauthorized reads and writes even when someone reaches an endpoint through a saved URL.

Supabase is a practical option for managed authentication and database services, while Stripe can handle subscription and one-time payment flows. The exact integration matters less than the boundaries you create. Keep secret keys out of client-side code, use server-side checks for payment status, and make webhook processing idempotent so a repeated event doesn't grant duplicate access.
Treat payments as state changes
A successful checkout isn't the same as a reliable entitlement. Your app should record the customer, product or plan, payment identifier, current access state, and relevant timestamps. If a payment fails, is refunded, or is canceled, the application needs a defined response.
If the app must send customer records to a CRM, map the fields before connecting the integration. The SourceLoop CRM integration guide is useful background for thinking about API-based synchronization and the data that must pass between systems.
Database structure and integration behavior deserve their own review. This guide to adding a database can help you check whether your app is persisting records or only displaying temporary front-end state. Before inviting users, test empty databases, duplicate submissions, expired sessions, failed payments, and partial network failures.
A working app is not the one that succeeds on the happy path. It's the one that fails clearly without corrupting data or exposing another user's records.
Testing and Launching Your MVP
Launch preparation should begin with the activation event you defined before building. Create a test account, complete the core action, confirm the record reaches the expected destination, and verify that the user can return later and see the same result.
Test with people who didn't write the prompts. Give them a short task and observe where they hesitate. Don't explain the interface while they work. Confusion, abandoned forms, and questions about status often reveal product problems that a technical test won't catch.
Use a focused release checklist
- Core workflow: A new user can complete the activation event from a clean account.
- Data behavior: Records persist, update correctly, and remain isolated by user or organization.
- Permissions: Each role can perform only the actions it should control.
- Failure states: Invalid input, missing data, expired sessions, and failed payments produce useful responses.
- Ownership: You know where the source code, database, credentials, and deployment settings are managed.
- Publishing: The app is available at a real URL you control, not only inside a builder preview.
Publishing should be deliberate. Some no-code web app builders let you deploy directly to a hosted URL or connect a custom domain, which turns a private build into something users can access. One documented example describes one-click web app deployment with an app-hosted URL and support for a custom domain such as app.yourcompany.com.
Don't confuse a live URL with validation. Ask early users to complete the core task, record where they stop, and review the activation data. Their feedback should determine whether you fix the current workflow, remove a feature, or change the problem you're solving.
Keep an eye on platform limits during this stage. Credit-based systems can restrict iteration, and one published pricing page lists 15 agent credits per day, 60 per month on its free plan, 500 credits per user per month on Pro and Team, and additional blocks of 500 credits for $25 per month. These details appear in Builder.io's pricing information, and they illustrate why usage limits belong in your launch plan.
Your Next Step to Launch Today
A launch-ready app starts with a narrow workflow and a short feature list. Write one sentence naming the user, action, and result. List the fields and roles that workflow needs, then build only its required pages.
Start with a small build and test it with one real user. Check whether the platform can publish the app and leave you with control of it. Begin at Webtwizz.
Webtwizz lets non-technical founders describe an app in plain language, create pages and workflows, connect authentication and data, and publish the result. Use that first build as a live test you can improve and own.
Last updated: September 25, 2026